Showing posts with label sewing. Show all posts

Thursday, January 8, 2015

In My Studio- Using up Scraps


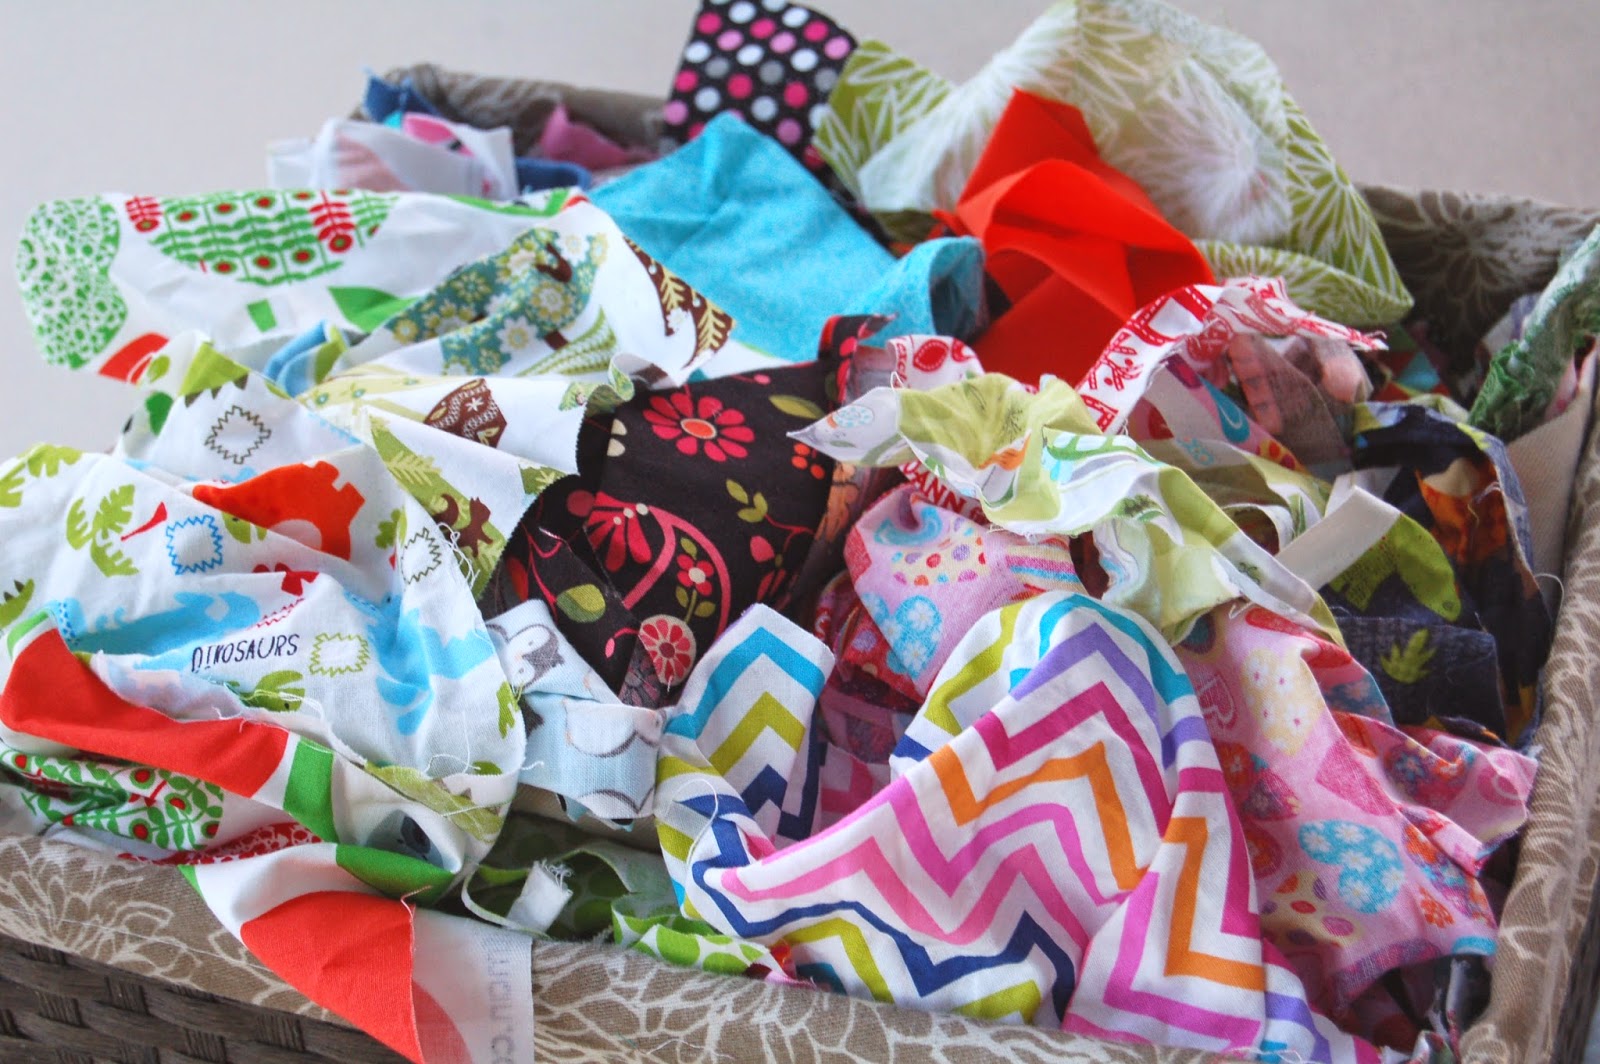
After a busy holiday season January is the perfect time for me to have a big sort out of my supplies. One area that threatens to take over is my remnant stash, one scrap of fabric seems to multiple overnight and becomes an overflowing colorful hoard.
Each small scrap seems so precious to me, knowing its origins and its possibilities. I endeavor to try and use up all my scraps not only because I love all of these fabrics and can't bare to throw them away but in an effort to save money, to do a small bit for the environment and because I want to breath new life into these redundant offspring.
January seems like a perfect month to use up the scraps, maximize my existing supplies, organize my remnant stash and get creative with the possibilities.
Here are some ideas for projects to get crafty with your own scraps:
Butterfly Hair Barrettes


Monster Tooth Fairy Pillows


Flower Brooches

Flower Birthday Cards


Heart decorations


"I'm a little bit of a fabric lunatic" John Malkovich


Good Luck and Good Making!


Sarah Omura


Monday, December 15, 2014

In My Studio: Plastic Bag Dispenser Tutorial


In an effort to save some money this holiday season I decided to make all my sons teachers one of these plastic bag dispensers as a 'green' Christmas present. They are quick and easy to make and useful for every household. Here is a tutorial to make your own for gifts or just for yourself!
Materials
Three different fabrics in coordinating colors.
One piece of thin elastic 16" long
1) Cut the top piece of fabric A into a rectangle 15" by 18"
2) Cut the middle piece of fabric B into a rectangle 15" by 5"
3) Cut the bottom piece of fabric C into a rectangle 15" by 6"
4) Cut a strip of any of the fabrics (piece D) 2" by 10"

4) Fold over 1/4 " and iron fabric C (along the 15" side).

5) Fold over, iron and pin fabric C again, leaving a hem of half an inch.
6) On the sewing machine hem along this edge.

7) Fold over twice and iron the top of fabric A and sew it down (along the 15" side).


 8) Pin and sew the fabric piece B to the un-hemmed bottom of piece A, right sides together.


9) Pin and sew the fabric piece C onto the bottom of the piece you just sewed, right sides together.


10) Iron the seams open on the reverse side.


11) Take your strip piece D and fold in half along the long edge, right sides together and iron. Sew down the long side and then turn inside out to make the long 'handle'. Over stitch along both edges.


12) Mark the center at the top of the main fabric piece and mark 3 1/2" either side of this center point.


13) Pin the tie at these points to the inside of the main fabric making a loop


14) Sew these down.


15) Take the piece of elastic and attach a safety pin to one end. Thread this through the bottom hem and leave hanging out of both ends.


16) Fold along the middle and pin down the sides (right sides together)


17) Sew down this edge from the top. When you get to the bottom pull the elastic tight (as shown) and continue to sew over the elastic ends. Reverse to make it extra strong

18) Trim the excess of elastic and turn inside out.

19) Hang up and stuff with bags!


Less then 1% of all plastic bags in the US are recycled- help change this frightening statistic


Good Luck and Good Making!


Sarah Omura


Monday, June 2, 2014

In My Studio: Sew Woodstock


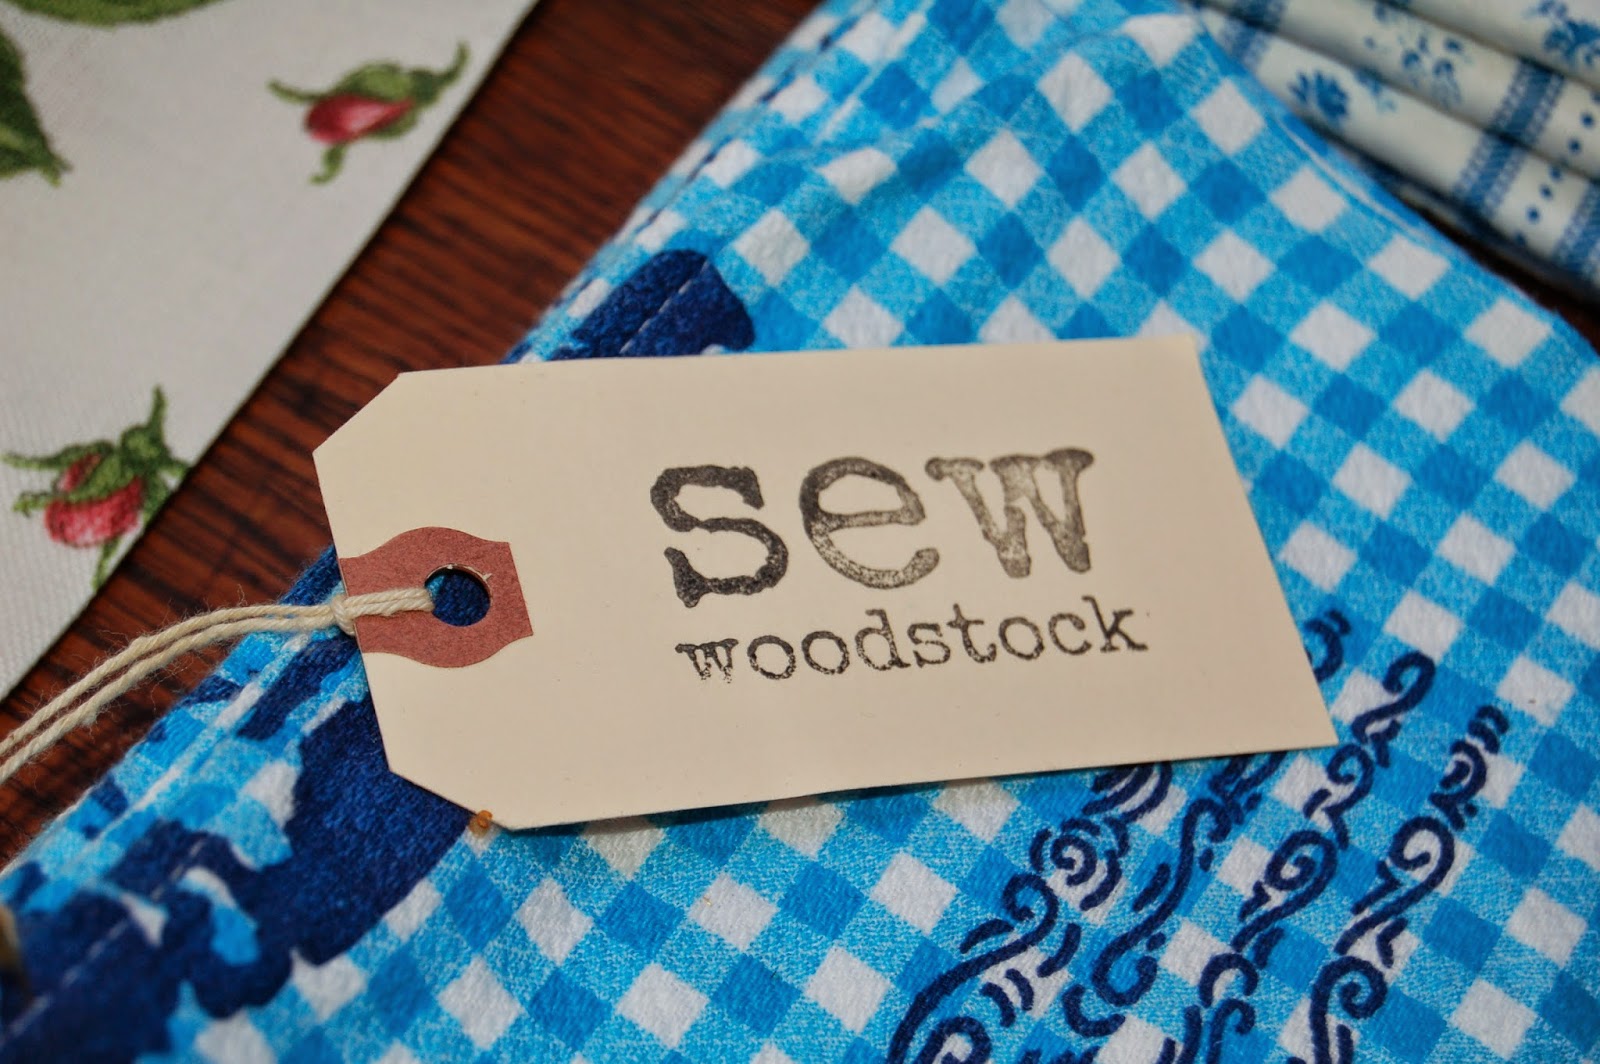
In the center of Woodstock a new sewing studio has recently opened its doors. The studio called Sew Woodstock offers many great ways for visitors to explore their own creativity. In a gorgeous light and airy space patrons can make use of the sewing machines, cutting tables, mannequins and ironing boards to make their own creations, bringing their own fabrics or buying from the colorful shelves.


The studio offers clients the ability to pay for a one-off day pass or join the co-op enabling them to come anytime during the studios regular opening hours. It is a great way for people without the room and equipment at their own homes to make use of the comfortable and well-equipped space whilst also providing a way for like minded sewers to sew, improve their skills, share ideas and develop friendships. The well stocked supplies shelves reminded me of old fashioned haberdashers store, brimming with wonderfully packaged sewing provisions.
Sew Woodstock also offers different classes in all aspects of sewing crafts including embroidery, dressmaking, crochet and beginners sewing machine classes. Up to date class schedules can be found on the website: www.sewwoodstock.com
Sew Woodstock has come to life through the determination of Sally Russ and Molly Farley.
Sally, Sew Woodstock’s proprietor, was taught to sew as a child by her mother. Sally has many fond memories of shopping with her mom for fabric and looking through pattern books together. For about three decades, sewing was put on the back burner, and she made her living as a photographer. Her interest in sewing resurfaced about four years ago when she started a weekly sewing group. The great success of that group, and the general surge in interest in made-by-hand, gave her the idea of creating a sewing shop and co-op available to the public, and Sew Woodstock was born.


Molly is Sew Woodstock's resident alterations expert, teacher and vintage reconstructionist. She has been sewing for most of her life, initially learning from her mom in Minnesota who was a sewing teacher. The past seven years were spent working in the costume department at the Fisher Center Theatre at Bard College working with students and the Summerscape Opera Seasons. Molly's love of recycling and reusing clothing and textiles fits right in with the Sew Woodstock philosophy of repurposing.

Sew Woodstock is a wonderful addition to village of Woodstock, bringing together many of the community's attributes with today's new domesticity. I truly hope that with our patronage and support it will flourish and other communities will follow in its success.
SEW WOODSTOCK
15 ROCK CITY ROAD
WOODSTOCK, NY  12498
Tel: 845 684 5564


"Sewing mends the soul"  Anonymous


Good Luck and Good Making!

Thursday, May 1, 2014

Meet out New Members! Spring edition

It's that time again: new member time!  I'm pleased to welcome our two new members to the Hudson Valley Etsy Team. They create some truly wonderful things and I hope you'll say hello to them.  Oh, and happy spring!

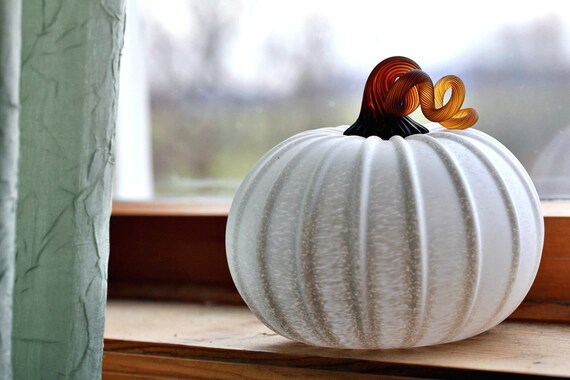
Glass Pumpkin in Matte Winter Ivory with Dark Amber Stem by LukeGilveyGlass
Luke Gilvey of LukeGilveyGlass works with hand-blown glass in Beacon, NY.  He has a variety of pumpkins and gourds in some really excellent colors, as well as bowls, glasses, ornaments, and even a lovely glass apple.  He even has a coupon code available to celebrate spring. Check out his shop for details.  Welcome to the team!

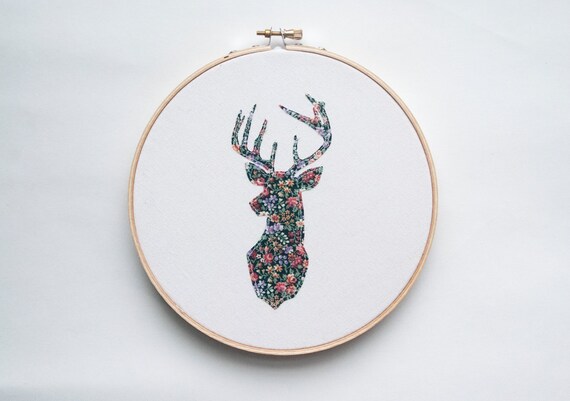
Deer Hoop Art, Embroidery art, Applique, Floral Animal Silhouette by KitschAndStitchNY
Sarah Grange from KitschAndStitchNY spends her time in Millbrook, NY.  Not only does her shop feature lovely stitching, generally in the form of hoops to hang on your wall, but the kitsch comes into play with her collection of vintage home goods, prints, and other odds and ends.    And to top it all off, she has a collection of cute greeting cards as well.  Glad to have you!

I hope you'll check out their shops and say hello.  Don't forget to shop local and help out your local artisans - they might just be your neighbor! 

Until next time,

Tuesday, February 4, 2014

In My Studio: Valentine Envelope Tutorial


In my studio this month I have been making these really cute valentines envelopes, they can be done any size you like and can hold a valentines card, gift or even candies. Here is a tutorial to make your own in time for February the 14th:

Materials
  • Felt pieces
  • Embroidery thread and needle
  • Button
  • Iron-on printer sheet
  • Ribbon
  • Template (as photo below)
1) Write a list of all the names you would like on your envelopes and print them out onto iron-on printer paper. I used the font 'courier' to make it look like old-fashioned typewriter print. Remember to flip your page first before printing it so that the names come out the right way around. I did this my saving my word document as a PDF then opening it up in photoshop and flipping it before printing it out.


2) Cut out the names and iron them onto a grosgrain ribbon, cut the ribbon either side of the name leaving a small amount to turn under on both the open fraying sides.


3) Use your template to cut out your felt pieces, also cut out small felt hearts in coordinating colors.


4) Sew the hearts and the names on to the envelopes in the corresponding places (see photo below.) Tuck the raw edge of the ribbon under so that it won't fray.


5) Turn over the envelopes and sew the sides and the end down.


6) Sew a button on the back and cut a small eyelet in the flap.

7) Fill the envelop with a valentines card, gift, candy or a perfect Valentines day surprise.

All you need is love. But a little chocolate now and then doesn't hurt.

Read more at http://www.brainyquote.com/quotes/quotes/c/charlesms189865.html#uH2UkkAybvyPpcqc.99
All you need is love. But a little chocolate now and then doesn't hurt.

Read more at http://www.brainyquote.com/quotes/quotes/c/charlesms189865.html#uH2UkkAybvyPpcqc.99

All you need is love. But a little chocolate now and then doesn't hurt. Charles M Schultz

Good Luck and Good Making!
Sarah Omura
So Handmade

Saturday, March 16, 2013

March featured member: WickedMint


Hudson Valley Etsy Team's March featured member shop is WickedMint, the fabric creations of Ryan Green.  Congratulations!


One cloudy day, I went to see Ryan at her home studio in Beacon (I can’t wait for it to start getting warm again!).  Her house is wonderful, full of lovely artwork and I was immediately envious of her well-organized work-space.  Although she’s been making things since she was little, as her mother taught her to sew, Ryan’s been selling her creations since 2003, starting at craft fairs and markets in NYC and through her own website, eventually moving to Beacon.  She’s been selling on Etsy since 2006, almost exclusively since 2009, and she’s even an Etsy educator!

I've seen Ryan’s creations around Etsy long before I became a member of the HVNY team, so it was a pleasure to meet the person behind the lovely chevron patter I see around, as well as some great silk-screened work! I had spent some time reading her blog in preparation and found out she has a nearly 4 month old girl.  I got to meet Elliot, who was very reasonable with me distracting her mother. 

is she going to start sewing soon?

So why does Ryan do what she does? “Being able to make things gives me freedom to own things that I might not otherwise be able to afford or be able to find in a store. I love sewing fabric creations because I can dream something up in my head and make it come to life. When someone becomes a customer by purchasing one of my items, it feels amazing. I imagine it feels how an artist would feel after selling a painting in a gallery.”

what a cute elephant!

And how does Ryan make these lovely creations? It depends on what she’s making but like most things it must be designed first! 


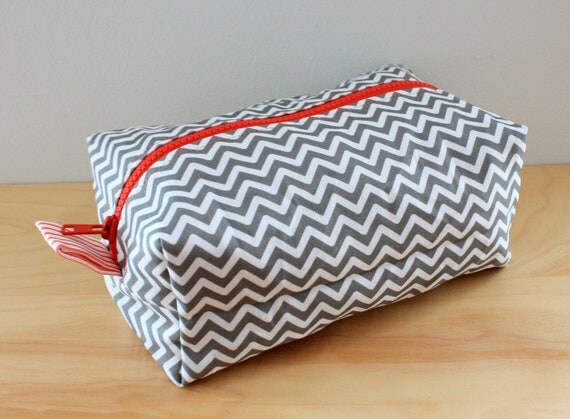
For her tea towels, cosmetic bags, and her telltale chevron patter, she begins with a computer design that is printed through spoonflower on a high quality linen/cotton blend fabric.  She’s hoping to expand this process to cover most of the items in her shop, as they offer more color preferences and she feels it’s safer for Elliot.

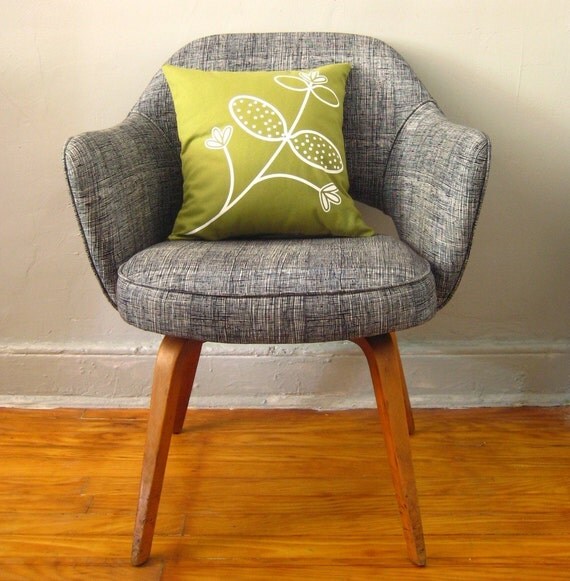
Modern Avocado Green Throw Pillow by wickedmint 
Still, her pillows are generally silk-screened in her basement (I didn't get a chance to check it out, but aren't her pillows gorgeous?) on brightly colored duck cloth or cotton twill.  Generally, she uses white ink, but she could use up to 4 different colors with this process.


Next after the fabric is printed, silk-screened, and cut all the pieces have to be collected and sewn together. 
Here she’s working on a cosmetic bag.


To the ironing board! She has to flatten out the pieces to be sewn a second time.


I love all the brightly colored zippers she has that go ever so well with her own designs, as well as her collection of threads!


Then, when everything’s sewn up, it’s time to get it ready to mail out.  She has personalized shipping labels and tags that gives just the right personal touch while letting you know you are buying from WickedMint!


As I mentioned earlier, Ryan is an Etsy Educator!  Basically, as part of a pilot program, Etsy trained 15 shop owners in how to teach others  interested in opening a shop Etsy 101.  Most of them had already been educating people, but Etsy wanted to have the trainings be more standardized and give the trainers the ability to communicate directly with Etsy.  So, if you’re interested in opening up an Etsy shop, keep your eye out for any workshops she might be holding near you.  I hope they start training more people soon, if only because being an “Etsy Educator” sounds so cool!

Gray Chevron with Red-Orange Accents Cosmetic Bag by wickedmint 

I hope you enjoyed your trip to Ryan’s workshop!  I know I did.  Definitely, go check out her awesome Etsy Shop and keep an eye out for a craft fair or Etsy 101 class she’ll be at.  You can also find her on her blog, Facebook, and Twitter.  I’m sure you know someone who needs a lovely pillow or tea towel to warm up their home just in time for spring! 

Enjoy!
Amber