Monday, March 31, 2014

From the Life of a Potter

March is the month of NCECA (NATIONAL CONFERENCE FOR EDUCATORS IN THE CERAMIC ARTS). It is the National Conference that is part learning, shopping, workshops, meeting up with old friends from across the country and having a grand ‘ole time.


This year NCECA was in frigid Wisconsin. I remember those conferences which have in the past been a refuge for our cold NY winters. Last year it was in Houston and a few years back it was in Tampa. I prefer flip flops to mukluks anytime.


I went with my friend and kiln partner Deb Rosenbloom to a pre-NCECA workshop with three fantastic potters. Ken Bichel, a kiln master from Dubuque Iowa, Ching Yuan Chang, a potter from Taiwan, and Joy Brown, a sculptor from Connecticut, shared their methods for making and firing pottery. The workshop was held at Bethel Horizons at the Adamah Center in Dodgeville, WI..........brrrrrrrr!

Ken and Deb and I have fired together many times so this was a reunion for us. I hope Ken will design and build our new Salt/Soda Kiln this spring. I learned much in technique from both Ching Yuan and Joy Brown.


All of this travel to the conferences result in a great desire to ‘get back to work’! Here’s to another wonderful NCECA experience.

Lynn - New Prospect Pottery

Thursday, March 27, 2014

Fooling Around with Fiber - An Adventure in the Wet Felting Process

Today we have a guest post from team member Kathryn Luciana of Huzzah Handmade sharing with us her recent visit to White Barn Farm and Fiber.

White Barn Farm Shop

Spring was barely in the air when I returned to White Barn Sheep and Wool near New Paltz, N.Y.  I'd visited this lovely shop and farm last year and signed up for a couple of lectures, but this time, I was there to immerse myself in a process called Wet Felting. I have always been intrigued by this process, and although I've been knitting and felting my work for years, Wet Felting is very different, and I wanted to learn more about it.

Paula Kucera, owner of the farm, welcomed us to her studio and shop, which is housed in part of the white barn for which the farm is named. The shop is cozy, very well stocked with a wonderful variety of fiber, books, tools, and a nice selection of local handmade items. Featured is a good selection of locally sourced fibers in addition to her own luscious yarns from her herd of mostly Cormo sheep. She recently remodeled the "knit lounge" and the workshop area of the barn, so we had lots of light and space to work. She described the process, showed us various examples of finished pieces, books about wet felting, and described the materials that we would  be using.
Merino wool batts, and coils of roving

Very simply stated, Wet Felting is a process by which various fibers are arranged on a fiber background creating a design. Then the substrate and fibers are covered, and warm, soapy water is gradually poured over the piece. By rubbing gently with your hands, and adding water as necessary, gradually the fibers start to meld, but that's just the beginning! Several more steps and several more hours later, you have your finished piece.

In preparation for the day, Paula suggested that we find something to inspire our project, like a photograph, scrap of fabric, an image or anything we might find helpful as a jumping off point. I decided to choose one of my photographs. I found several that I thought might work, and manipulated them in Photoshop to make them more abstract. I took four or five with me, but finally ended up with one from part of my garden.
My batt and my inspiration photos

Paula was kind to us. She chose 100% Merino 19 micron wool, because of it's ability to felt more easily then other fibers. A great choice for newbies. The "canvas" on which we worked is called a batt. We had chosen our batt colors in advance, and Paula had a nice variety available when we arrived. The batts are basically soft, rectangular sheets of wool, and since we were going to be making purses or tablet carriers, the color of the batt would become the inside of the bag. I chose gray/brown, but more adventurous students chose lime green or turquoise. Other than that, our tools were humble: a towel, plastic bubble wrap, synthetic organza fabric, a plastic sheet, rubber stair tread material, a scrap of non-slip rug material, and a piece of a foam "noodle" like kids use in the pool.


Our tools
The "paint" we used on our "canvas" was Merino wool roving in an amazing variety of colors,  yarn, and various other fibers. We set about pulling off sections from the roving coils to create our designs. With my photograph nearby, I started creating my scene. As well as the wisps of roving, I also used a couple of colors of merino yarn for texture. Once our bag front was complete, we flipped the whole piece over and repeated the process for the back and flap. (Notice the piece of plastic inside the bag to keep the back and front from felting together). With step one, the bag front and back completed, we moved on to step two. Time to get wet! If you like getting messy, you'll love this process.


Step One, complete
Step Two is where the magic starts to happen. The front of the bag is covered with a scrap of organza fabric. Then, warm, soapy water is dribbled over the fabric gradually. It needs to get really wet. Squishy wet. As you add water, you start to gently rub the fibers with your hands, eventually covering the entire piece. This abrasion will start the felting process. Rub, add water, rub, check your progress by lifting the fabric. Finally, the fibers will be adhered to themselves and to the batt, so that you can lift the organza and flip the piece over to repeat the process on the back. I wanted to make a messenger style bag with a cross body strap, so I had an additional step. I selected a length of roving, allowing for shrinking, and using the rubber stair tread, I rolled the wet roving back and forth on it until it felted into a solid tube. As I worked on the bag back, I attached the strap to the inside, felting it as I rubbed the outside of the bag. The side seams are turned under and felted closed securely. After that, time for a quick lunch and a trip to see the sheep down at the barn.


Recently sheared Cormo Sheep

Organza fabric layer
Back to work, we now started the labor-intensive part of the process. Our pieces were sandwiched between two sheets of plastic, and one piece still remained inside. We placed our work on the bubble wrap, rolled them around our foam noodle, and tied the ends tightly. On top of our towels, we started rolling the package back and forth on the table, 50 times one way, then flip the package around and 50 times the other way. There is a stance one must assume to do this, and you quickly learn the meaning of the phrase "put your back into it." Using our forearms, we rolled and flipped and rolled and flipped. Paula assured us that it would only take and hour or so! I soon realized that I didn't have to worry about working off the calories I ate at lunch.
Every couple of hundred rolls, we had the chance to peek at the progress of our work. They were getting smaller and denser, little by little. Finally, we were ready to move on, but we were not done yet! 


Checking the progress
Rolling, rolling, rolling!

After deciding that our pieces were sufficiently felted, Paula led us to the sink, where we scrubbed them vigorously in a basin of hot water. After wringing out most of the water, we then got to use our rubber mats. Now, at this point, if you have any aggression to release, go for it. We grabbed our bags and threw them down on the mats repeatedly to finish the process. Wham! We were done!! Our bags were felted, but there was still opportunity for further experimentation. I took my bag home and threw it in the dryer on hot, so that it felted even more, and the strap was then the perfect length. My bag ended up being about and inch or two larger than an iPad, all around. I will add a lining and a closure. Other students were considering adding needle felted decorations, beads, leather handles or other adornments.

Hot water "shock"
Throwing down!


So, after 5 hours, lots of elbow grease, and three cups of Yogi Energy Tea, I have a small insight into the ancient process of Wet Felting. It was a great day, in good company with a patient teacher. A very satisfying experience.  White Barn Farm and Fiber Shop is located at 815 Albany Post Road, New Paltz, N.Y. You can visit Paula on the web at: whitebarnsheepandwool.com


My bag, with felting completed


Story and Photos by Kathryn Luciana of Huzzah Handmade

Wednesday, March 26, 2014

Hudson Valley Etsy Treasuries - March

Treasuries are a great way to check out many of our items at once. See more of this month's Etsy treasuries from Hudson Valley Etsy here: March Hudson Valley Etsy Treasuries


Friday, March 14, 2014

Irish Soda Bread Recipe

Happy St. Patrick's Day!

Egg-free Irish Soda Bread

Because two people in my family are allergic to eggs, I've had to look for baking recipes without eggs.   I keep this scone-like bread in a plastic bag after it cools so it will stay moist.

Heat oven to 400 degrees.

4 cups flour
1/2 cup sugar
1/4 cup butter
1 tsp salt
1 tsp soda
1 tbsp caraway seeds
1 cup raisins
2 cups buttermilk

Chop up butter with flour, sugar, salt and soda in food processor.  Pour mixture into a bowl and add caraway seeds, raisins, and buttermilk.  Should be a very soft, almost runny dough.  Pour out onto a greased baking sheet and with floured hands shape into a circle.  With a knife cut a cross on the top.  Bake at 375 degrees for 45 minutes or just until a toothpick comes out clean.  Let cool, slice, and serve!

Jody


Wednesday, March 12, 2014

Saying Goodbye to Hudson Valley Winter!

Winter is coming to an end

Underneath a hardened snow bank, running along the front of my house, is the garden bed that last summer was full of vibrant colorful flowers, attracting bees, butterflies, Cicadas, and hummingbirds. I am ready for spring, and long for summer.

I am not a fan of winter, and this one has been particularly brutal. The last snowstorm dumped over one foot of new snow over an existing six inches of snow, already on the ground. My poor husband spent time on the roof breaking icicles, cracking ice out of the gutters, and pushing snow down to the ground, which created the snow banks that surround the house.

Our house has made winter more tolerable. On frigid nights, and cold weekend afternoons, we usually light a fire in the fireplace, and lounge on the cozy couch, wearing warm slippers, and drinking tea.

While sitting at our kitchen table for meals, we can look out of the window at the snow covered backyard that seems to go on forever. We watch the deer, hawks, and the variety of birds that nibble seeds and suet. We can measure how much of the snow has melted by how much more of the wooden picnic table becomes visible. 


Today, the temperature was in the 50’s, and more snow melted. Tomorrow is predicted a heavy rain storm, and behind the storm, the temperatures will plummet back into the 20’s. I can tolerate the final blasts of winter, because the days are longer now.

It will probably take another month or more for all of the snow to melt away. Once spring arrives, forsythia, tulips, and daffodils will bloom, and the colors of yellow and red will surround the house.

Once the snow bank in the front of the house melts, and the dirt in the garden bed is warm and soft, I will plant the same variety of vibrant colored zinnias that grew there last summer. The roses will bloom again, and I will add more flowers. The hummingbird feeders will be hung once again. The blueberry bushes outside of our kitchen window will bear their fruit, and the dogwood trees and lilac bushes will bloom. I will plant the vegetable and herb garden that I am planning.

I know that spring is just around the corner.

Jenny - Reclaimed Design

Monday, March 10, 2014

A Simple, DIY, Hudson Valley wedding - picking a venue

We began a Hudson Valley Wedding series earlier this year and now Amber is back to discuss finding a venue in the Hudson Valley. Read her introduction post to learn more.

Poet's Walk (Red Hook, NY) by Thomm Quackenbush

One advantage of having a wedding in the Hudson Valley is the huge variety of venues that could fit whatever your heart desires. There is everything from small outdoor parks to buildings that might as well be castles (there might be actual castles, really). So, how do you choose?

Pearl Tassel Earrings, 1920s Earrings by merryalchemybridal


For me, I already had a few requirements for a venue before I started looking, and gained a couple while looking, that definitely helped narrow down my options. The place had to be:

1) mostly outside (with the ability to put up a large tent or an inside option in case of rain.)

2) I didn't have to use their caterer/wedding planner/etc.

3) In the general vicinity of $2,000-$5,000, depending what was included.

4) Some indoor bathrooms, even if just for me and the wedding party.

5) A place to stay for the weekend - or longer.

6) Near a body of water would be great.

7) Free for my wedding date. (You can also choose your date based on the venue, I just choose the date first)

8) Fit around 100 people.

9) a BBQ! or place we can set one up.
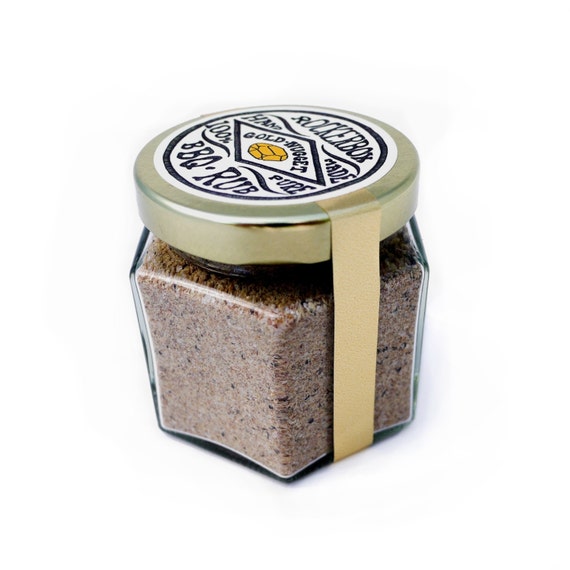
BBQ Rub - 6 oz by RockerboxGarlic


So, as you can see, there are a ton of things to think about when choosing a venue. At the very least, you should have an idea what you want your wedding to feel like, especially when it comes to formality (generally, inside is considered more formal) and have an idea how much you want to spend as it’s easy to get your heart set on a venue only to find it’s twice as much (if not more) than your budget. It’s also good to have an idea how much work you want to do. There are some venues that will do everything for you and others that leave it all up to you. If you are looking for something less formal, on a low budget, and don’t mind some work, keep in mind friends' and family’s backyards - or even local parks, generally they only charge a few hundred but you might not be able to have alcohol or have to leave at sunset.  And keep in mind that, if you're renting a tent, tables and chairs, they generally don't deliver on the weekends, so you'll need the venue to be okay with delivery on Friday and pick-up on Monday for a weekend wedding.

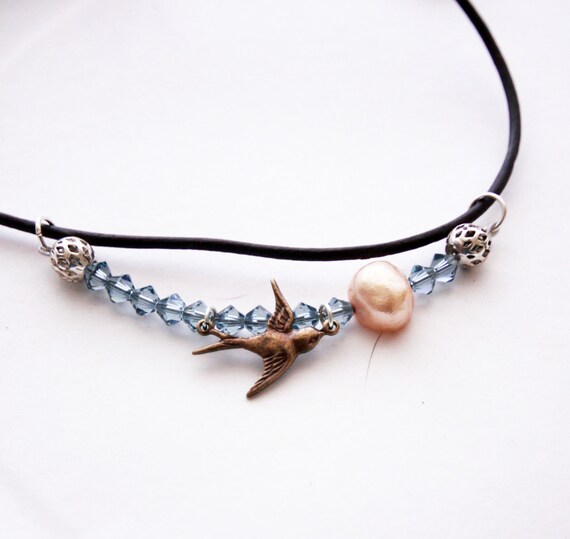
Bird Necklace * Copper Swallow Necklace by ScrapsandPaper


Whatever it is you want, try not to fall in love with a venue that doesn’t fit all your needs, unless you’re so in love with it that it’s worth changing your plans. Even if your needs seem impossible to meet as mine certainly did, the perfect - or nearly perfect- place is out there, just keep looking!

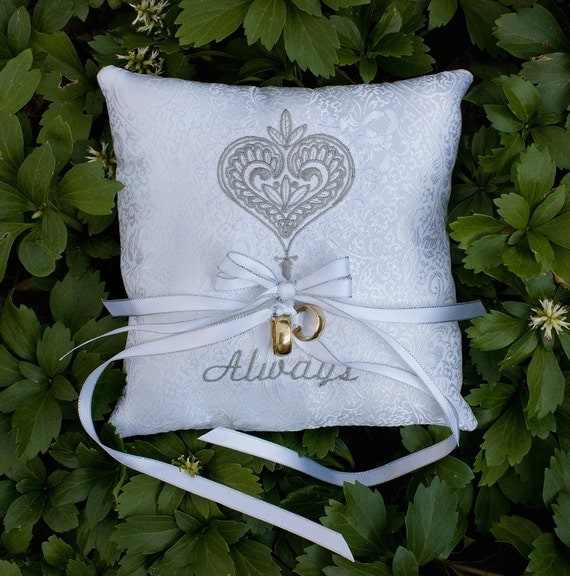
Ring Bearer Pillow Embroidered White Brocade by HuzzahHandmade


For me, after a few inquiries to local farms, B&Bs, and other such places, I came up with either no response or something incredibly out of my price range (one was $5,000 to use the property, not including any rentals or a place to pee, let alone stay - oh, and some of the info they sent was about how it’s impossible to have an awesome wedding for under $30,000 and that you have too meet with their wedding planner who would help you budget). Eventually, I read an article mentioning websites where people rent out their homes (or second homes) for vacationers to stay in - and some allow weddings! After basically messaging everyone in the Hudson Valley on VRBO.com who looked like they might have a big enough backyard, I found a few that would do and one that was just perfect! We visited and placed a deposit.  I was also incredibly lucky that I contacted her when I did, as she was intending to change the minimum rental to a month, but put it off as not to disappoint a bride!


So keep your eyes open! Anywhere you look could be the perfect place for you and your love to get married and, if you look in unexpected places, you’ll often be rewarded with a lower price - though possibly more work - but a certainly unique experience. Good luck!


Enjoy!
Amber

Monday, March 3, 2014

In My Studio: Book Review of Homeward Bound


HOMEWARD BOUND

Why Are Women Embracing the New Domesticity

by Emily Matchar

Browsing through my local Woodstock library the other day I came across this new little gem. The cover immediately appealed with the illustration of a hip, youngish woman knitting, surrounded by kitchen and crafting equipment. It could be me I thought and indeed on reading the book I am fascinated by the numbers of women who are turning their backs on the 9-5 drudge, like myself  and getting back to homemaking.

These smart, highly educated young people are turning their backs on corporate life and embracing the labor-intensive domestic tasks their mothers and grandmothers eagerly shrugged off. Some are becoming homesteaders, raising their own livestock and growing their own food. Some are joining the new wave of lifestyle/ parenting bloggers. Some throw themselves into DIY parenting which entails attachment parenting, homeschooling and making all their food from scratch and some like myself are becoming home-preneurs starting their own kitchen table business selling crafts on Etsy or jams at the local farmers market. This book explores all the ways in which today's young people are getting back to basics for the health and well being of themselves, the environment and their family.

The author Emily Matchar skillfully tackles each subject interviewing real life women (and the odd man) sharing with us their fascinating stories of corporate lawyer turned pig farmer, or sales rep to highly successful mom blogger, web designer to bee keeper and so on. She not only picks characters who whole heartily celebrate all things crunchy but also some who tried, failed and struck up a happy medium with their own domesticity.   

The reasons Matchar proposes for this shift back to the home include: dissatisfaction in the workplace, a growing sense of distrust towards the government, corporations and the food system, concern for the environment, the draw to hands on work in a technology driven world and an increasing intensive standard of parenting. Added to this are the current hostile work practices of corporate America towards working mothers such as  no  paid maternity or family leave that gives women no choice but to give up work and turn towards a more home-centric  lifestyle.


The chapter entitled 'Knit Your Own Job: Etsy and the New Handmade Culture' was of special interest to me as I have opened my own Etsy shop called So Handmade and have been predominantly selling Christmas Tree Skirts that I make all year round. The chapter looks at the success of Etsy from its humble beginnings in 2005 making just $170,000 to earning in 2011 of $525.6 million. The author interviews both makers who have been able to start and maintain highly successful Etsy shops and ones who have struggled to make any sales despite having quality wares. She concludes the chapter by saying that:
"Despite the optimism surrounding the new artisan economy, a very fundamental thing remains true: selling handmade goods is still an incredibly difficult way to make money" These sentiments ring true for myself as I am sure they do with many other readers.

In the conclusion to the book Emily Matchar points out the lessons she has learned on her domestic odyssey. She admits that:

"So many of the values of New Domesticity are wonderful: an emphasis on the family, a DIY spirit, a concern for the environment, an unwillingness to beholden to corporations."

But she goes on to look at the dark side she has discovered including the exclusion of those people who don't have the time or money to DIY it. A privilege of individual rights over group goods, the disenfranchise of men and the demonizing of the workplace. She believes there is a happy place which exists somewhere in the middle, whereby we can eat store bought produce and not feel guilty about it, learn to knit in our spare time and aspire to career achievements and financial independence.

I highly recommend this thought provoking and intelligently written book that has perfectly captured today's zeitgeist.

Sarah Omura - So Handmade