Showing posts with label sewing tutorial. Show all posts

Thursday, January 8, 2015

In My Studio- Using up Scraps


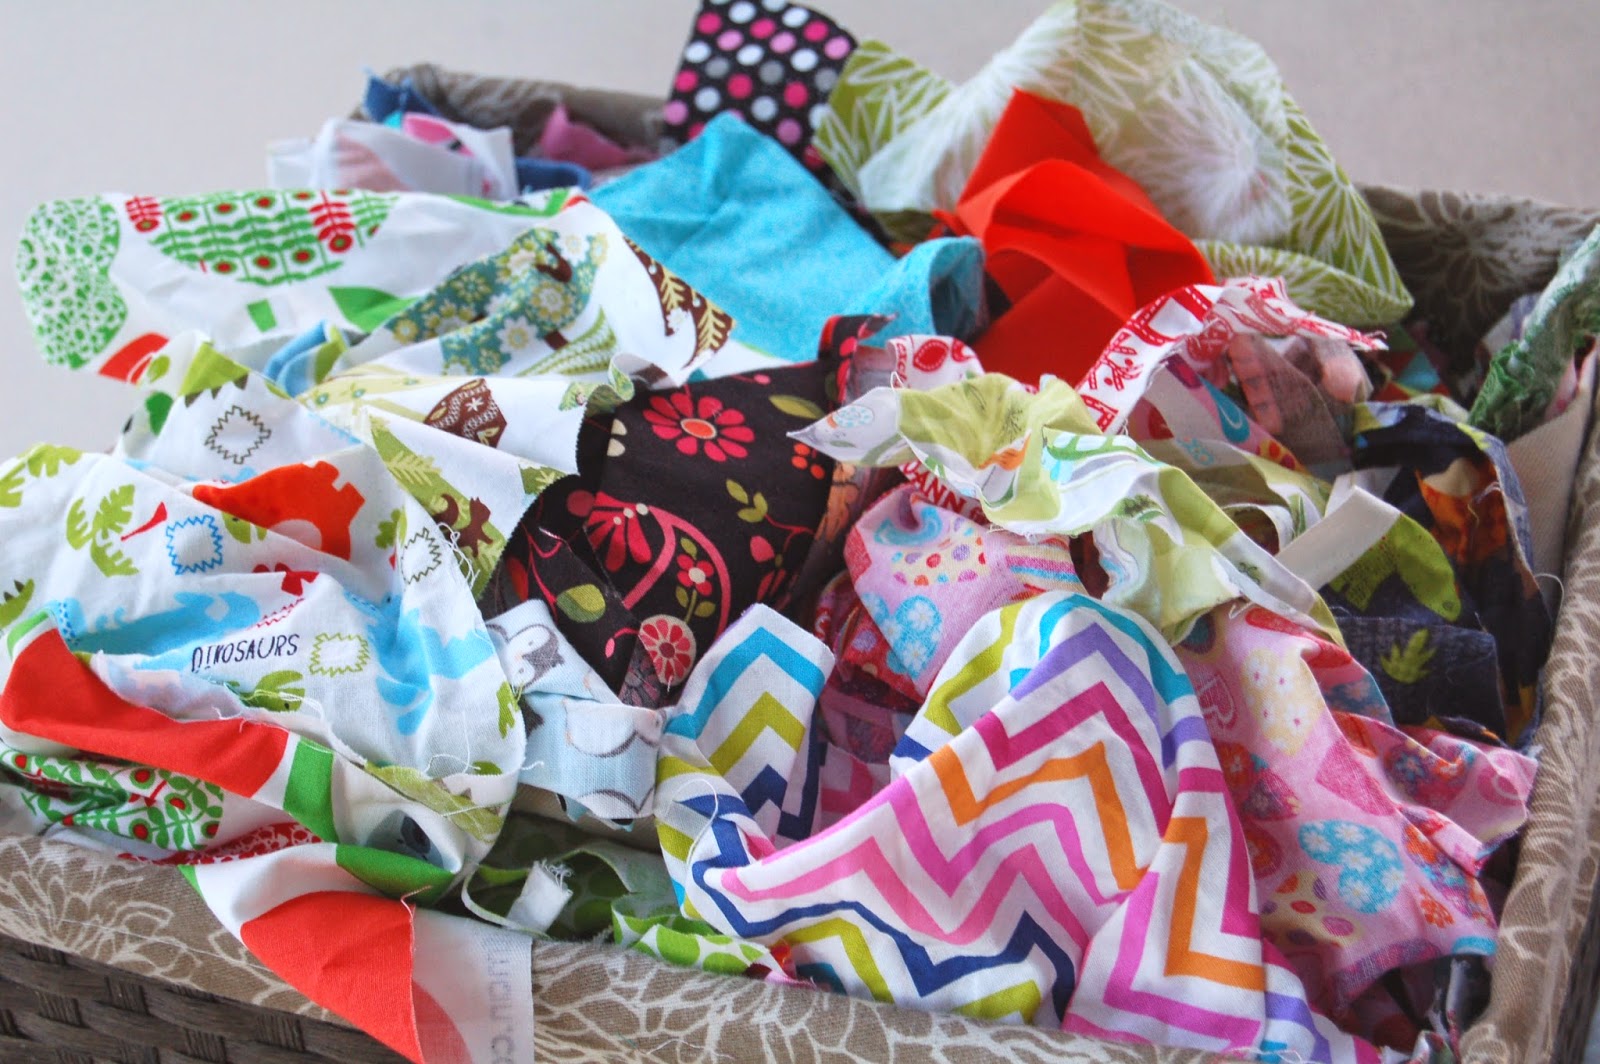
After a busy holiday season January is the perfect time for me to have a big sort out of my supplies. One area that threatens to take over is my remnant stash, one scrap of fabric seems to multiple overnight and becomes an overflowing colorful hoard.
Each small scrap seems so precious to me, knowing its origins and its possibilities. I endeavor to try and use up all my scraps not only because I love all of these fabrics and can't bare to throw them away but in an effort to save money, to do a small bit for the environment and because I want to breath new life into these redundant offspring.
January seems like a perfect month to use up the scraps, maximize my existing supplies, organize my remnant stash and get creative with the possibilities.
Here are some ideas for projects to get crafty with your own scraps:
Butterfly Hair Barrettes


Monster Tooth Fairy Pillows


Flower Brooches

Flower Birthday Cards


Heart decorations


"I'm a little bit of a fabric lunatic" John Malkovich


Good Luck and Good Making!


Sarah Omura


Monday, December 15, 2014

In My Studio: Plastic Bag Dispenser Tutorial


In an effort to save some money this holiday season I decided to make all my sons teachers one of these plastic bag dispensers as a 'green' Christmas present. They are quick and easy to make and useful for every household. Here is a tutorial to make your own for gifts or just for yourself!
Materials
Three different fabrics in coordinating colors.
One piece of thin elastic 16" long
1) Cut the top piece of fabric A into a rectangle 15" by 18"
2) Cut the middle piece of fabric B into a rectangle 15" by 5"
3) Cut the bottom piece of fabric C into a rectangle 15" by 6"
4) Cut a strip of any of the fabrics (piece D) 2" by 10"

4) Fold over 1/4 " and iron fabric C (along the 15" side).

5) Fold over, iron and pin fabric C again, leaving a hem of half an inch.
6) On the sewing machine hem along this edge.

7) Fold over twice and iron the top of fabric A and sew it down (along the 15" side).


 8) Pin and sew the fabric piece B to the un-hemmed bottom of piece A, right sides together.


9) Pin and sew the fabric piece C onto the bottom of the piece you just sewed, right sides together.


10) Iron the seams open on the reverse side.


11) Take your strip piece D and fold in half along the long edge, right sides together and iron. Sew down the long side and then turn inside out to make the long 'handle'. Over stitch along both edges.


12) Mark the center at the top of the main fabric piece and mark 3 1/2" either side of this center point.


13) Pin the tie at these points to the inside of the main fabric making a loop


14) Sew these down.


15) Take the piece of elastic and attach a safety pin to one end. Thread this through the bottom hem and leave hanging out of both ends.


16) Fold along the middle and pin down the sides (right sides together)


17) Sew down this edge from the top. When you get to the bottom pull the elastic tight (as shown) and continue to sew over the elastic ends. Reverse to make it extra strong

18) Trim the excess of elastic and turn inside out.

19) Hang up and stuff with bags!


Less then 1% of all plastic bags in the US are recycled- help change this frightening statistic


Good Luck and Good Making!


Sarah Omura


Tuesday, February 4, 2014

In My Studio: Valentine Envelope Tutorial


In my studio this month I have been making these really cute valentines envelopes, they can be done any size you like and can hold a valentines card, gift or even candies. Here is a tutorial to make your own in time for February the 14th:

Materials
  • Felt pieces
  • Embroidery thread and needle
  • Button
  • Iron-on printer sheet
  • Ribbon
  • Template (as photo below)
1) Write a list of all the names you would like on your envelopes and print them out onto iron-on printer paper. I used the font 'courier' to make it look like old-fashioned typewriter print. Remember to flip your page first before printing it so that the names come out the right way around. I did this my saving my word document as a PDF then opening it up in photoshop and flipping it before printing it out.


2) Cut out the names and iron them onto a grosgrain ribbon, cut the ribbon either side of the name leaving a small amount to turn under on both the open fraying sides.


3) Use your template to cut out your felt pieces, also cut out small felt hearts in coordinating colors.


4) Sew the hearts and the names on to the envelopes in the corresponding places (see photo below.) Tuck the raw edge of the ribbon under so that it won't fray.


5) Turn over the envelopes and sew the sides and the end down.


6) Sew a button on the back and cut a small eyelet in the flap.

7) Fill the envelop with a valentines card, gift, candy or a perfect Valentines day surprise.

All you need is love. But a little chocolate now and then doesn't hurt.

Read more at http://www.brainyquote.com/quotes/quotes/c/charlesms189865.html#uH2UkkAybvyPpcqc.99
All you need is love. But a little chocolate now and then doesn't hurt.

Read more at http://www.brainyquote.com/quotes/quotes/c/charlesms189865.html#uH2UkkAybvyPpcqc.99

All you need is love. But a little chocolate now and then doesn't hurt. Charles M Schultz

Good Luck and Good Making!
Sarah Omura
So Handmade

Monday, January 14, 2013

DIY Bunting Tutorial

Simple Fabric Bunting


 I love the way bunting looks as decoration for a room or a display, and decided I would make some with my old Laura Ashley fabric.  I had gone to England in my twenties and bought fabric from their stores and from Liberty of London, and they've been sitting mostly in boxes since then.  It doesn't look like that particular style is coming back so this seems like a good use to put them to!


I decided on triangular flags 5" by 7.5" and cut out a pattern on graphing paper.


My supplies consisted of a yard total of different fabrics in aqua, white and lavender, a half yard of fusible web, and two packages of extra wide double fold bias tape with thread to match.


I cut 8" wide strips of fabric and folded them in half length wise or 16" wide strips of fabric and folded them over to make them 8"x45" strips.  Then I cut 8" wide lengths of fusible web, slipped them between the layers of fabric (printed side facing out) and ironed them all together.


Then I placed the pattern on the ironed fabric, marked the corners with pencil and using a metal straight edge, cut out the triangles with a fabric rotary cutter.  Then I'd just rotate the pattern and cut another triangle from the other side, so there was no wasted fabric!


When I'd finished cutting out the flags I laid them out on the table to check on the color order and the length of the bias tape, which was 3 yards.


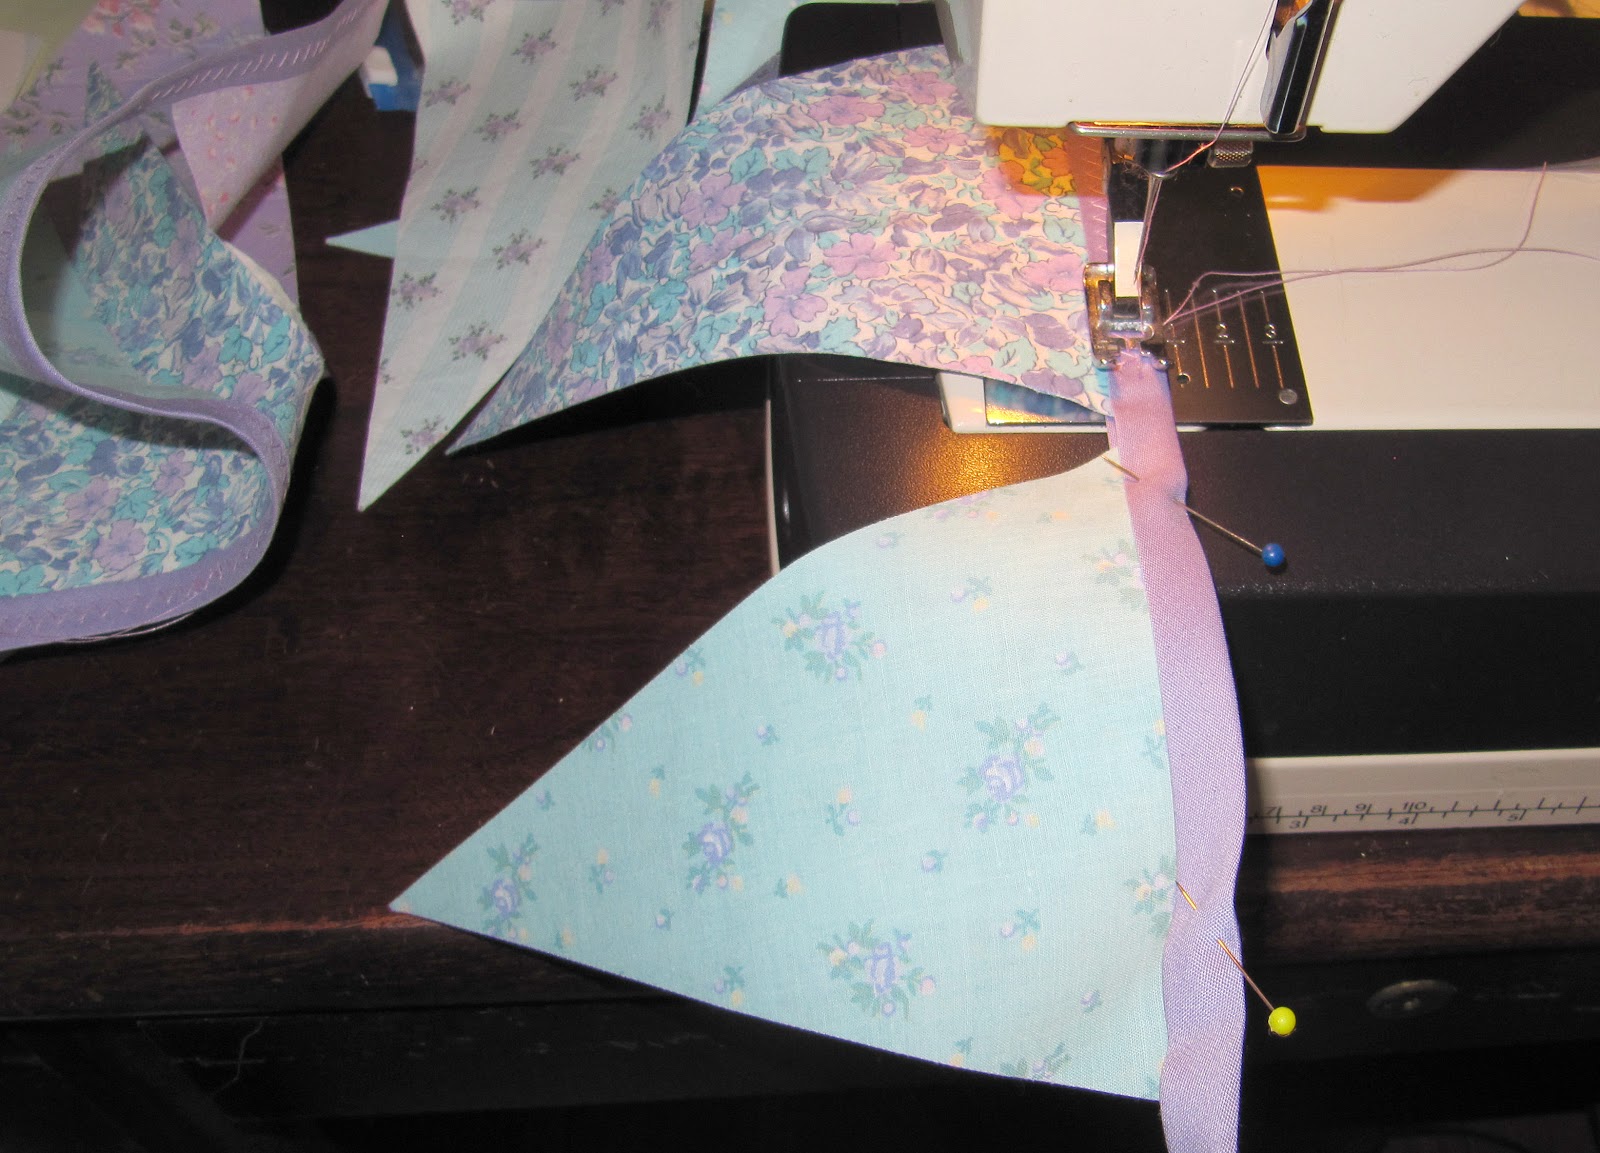
I pinned the triangles inside the folds of the bias tape with two pins per flag - one pin isn't quite enough for me, at least.


Then I used a zigzag stitch to sew the triangles in place.  I made loops on the ends by just folding the bias tape back and zigzagging over the edges.


Done in a day and a half!


Can you guess my favorite colors?  I don't change much over the years!

Jody

www.astudiobythesea.etsy.com

[Etsy+avatar.jpg]