Monday, May 2, 2016

Working on Building my Etsy Store

I cannot claim to be an expert in the Etsy experience. I am a long way from my
Etsy Store being a major source of income.
However, this past year I have really worked hard at building
my store's on-line presence. Comparing last years first four
months to this years, my sales are up by 300%.


What I have concentrated on are the usual "Big 3":

1. Photography

Making sure that my photos are well lit and have no distracting backgrounds.
2. Copy

Using key words within the item descriptions. 

3. SEO

Really paying attention to which key words show up in Etsy searches.

I also am Tweeting much more often and posting on Instagram.
I do need to pay more attention to my DiGilio Designs Facebook Page
and my blog. As they say showing up is very important, have a frequent
and regular posting schedule.

I have been encouraged by the growth that I have seen so far this year
and will continue to learn and try to keep improving.


Sue DiGilio

Friday, April 22, 2016

Where To Find Makers-On-Hudson This Weekend

We're holding our breath here in the Hudson Valley, but we think Spring has finally arrived. Lilacs and dogwoods are just about to bloom, and our makers will be venturing out to several events this weekend.
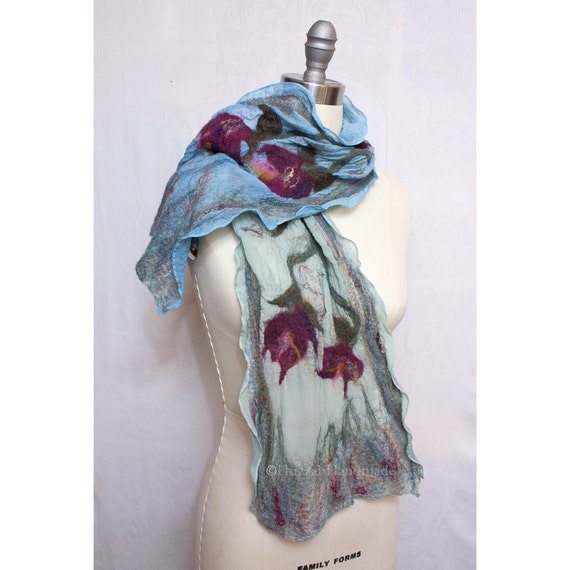
Nuno Felted Scarf on Silk Art to Wear
Nuno felted scarf on silk gauze by HuzzahHandmade
Kathryn, from Huzzah! Unique Handmade Wearables will be at the Chancellor's Sheep and Wool Showcase at the Cleremont Historic Estate this Saturday (please note, rain date is Sunday 4/24. Check the website if you are in doubt.) You'll enjoy this wonderful event, with lots of activities and many talented artists selling their locally handmade items.

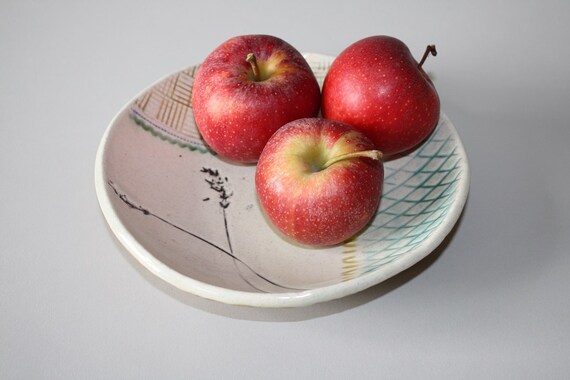
Also, on Saturday, cross the Hudson and you'll find two of our makers attending the Mama Makers Market. on Main Street, High Falls, N.Y. Hester, of HestersStudio and Sarah from SOHandmade will be there, so stop by and say hello. High Falls is such a quaint little town, and a fun place to visit.
Salad Bowl with Lavender imprint
Salad bowl with lavender imprint by HestersStudio

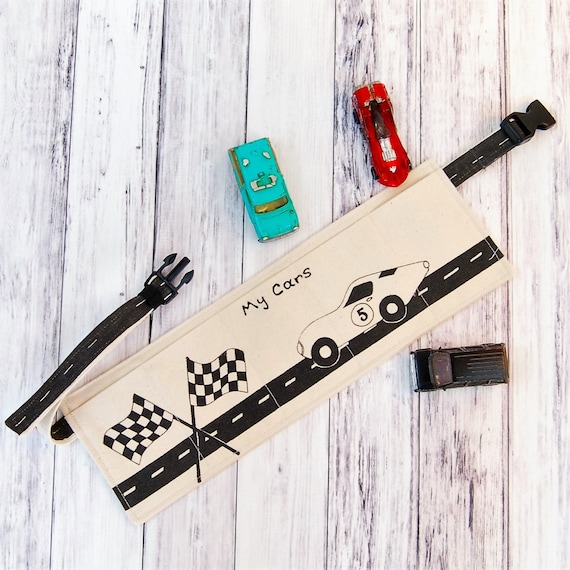
Car Utility Belt, boys birthday gift, boys belt, custom boys gift, toy car belt, personalized belt, toy storage belt, toy belt car gift
Car utility belt by SOHandmade


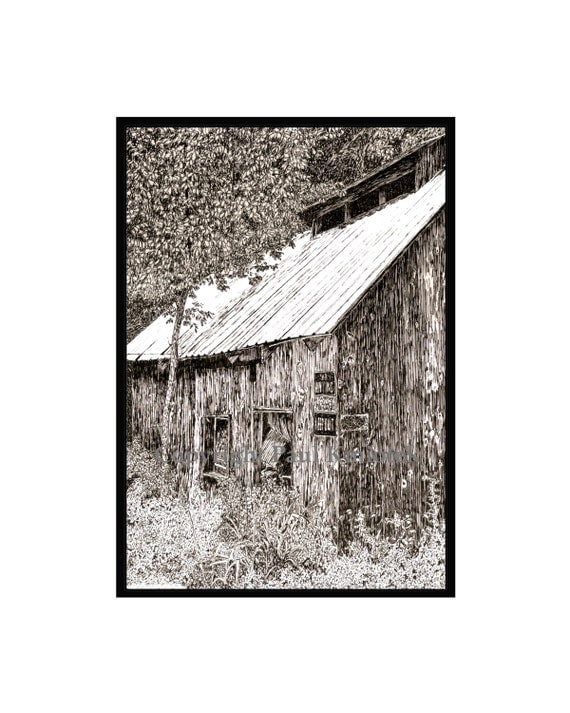
Back in Dutchess County, at Dutchess Handmade, Paul from  Kmiotek Art Works will be participating in a pop-up shop starting April 21. The shop will be open until May 12, so you'll have many opportunities to browse the selection of work  throughout the Spring.
Haines Falls Sap House, Pen and Ink Print
Haines Falls Sap House by Kmiotek Art Works


Wednesday, April 20, 2016

In My Studio: Label Making

Today on the blog I am revisiting this blog post from a couple of years ago. I recently changed my logo and had to make some new labels. I also saw that Kim from QuarterLifeLuck has been using this tutorial to make her own labels too with some great results:
Labels made by QuarterLifeLuck
How to make your own Fabric Labels

In order to save money buying in professionally made custom labels I have been making my own. The results look great and are very easy and cheap to do. In this tutorial I give you the steps in order for you to make your own:

Materials
Printable transfer paper
Fray Check
Iron
Sharp scissors
Ribbon


Method

1) On your computer take a copy of your logo and insert it into a word document. Measure your ribbon and scale the logo so it will fit onto the ribbon. It will look best if the background of your logo is left white. 

2) Once its the correct size click the 'format' tab at the top of the word document. Find the 'rotate' tab and click the option 'flip horizontally'. This will invert your logo so that it will be the correct way around when printed.

3) Copy this version of the logo and paste in columns on the document (as below left). Print this document out onto the transfer sheet making sure you print on the correct side of the paper. Cut into strips (below right)


 4) Heat the iron to its hottest setting and iron one strip of logos onto the ribbon. Make sure the iron gets really hot and then before it cools down quickly remove the backing paper. (it is best to iron on the top of a hard surface)


 5) Apply the fray check to the back of the ribbon in the area between the logos and leave to dry.

6) Once dry cut the labels

7) Apply the labels to your products, remembering not to iron over the label once its been attached as this will melt it.
My new logo!

Good luck and good making!

Sarah Omura - So Handmade